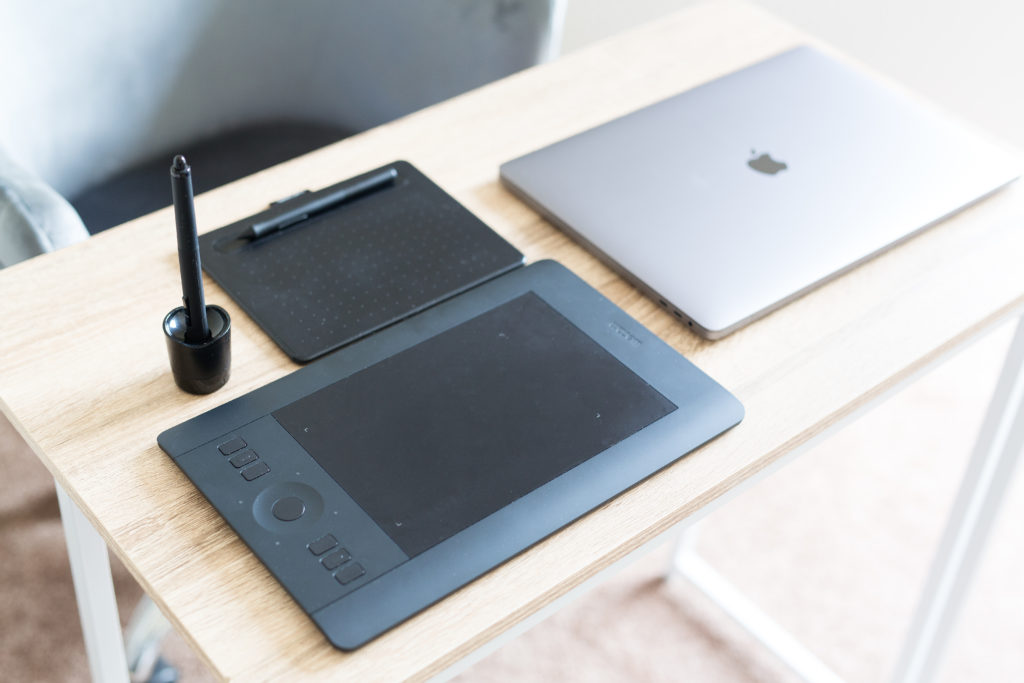
Getting Started with Your Wacom Intuos Tablet- for photographers
Sizes: Small, Medium, and Large
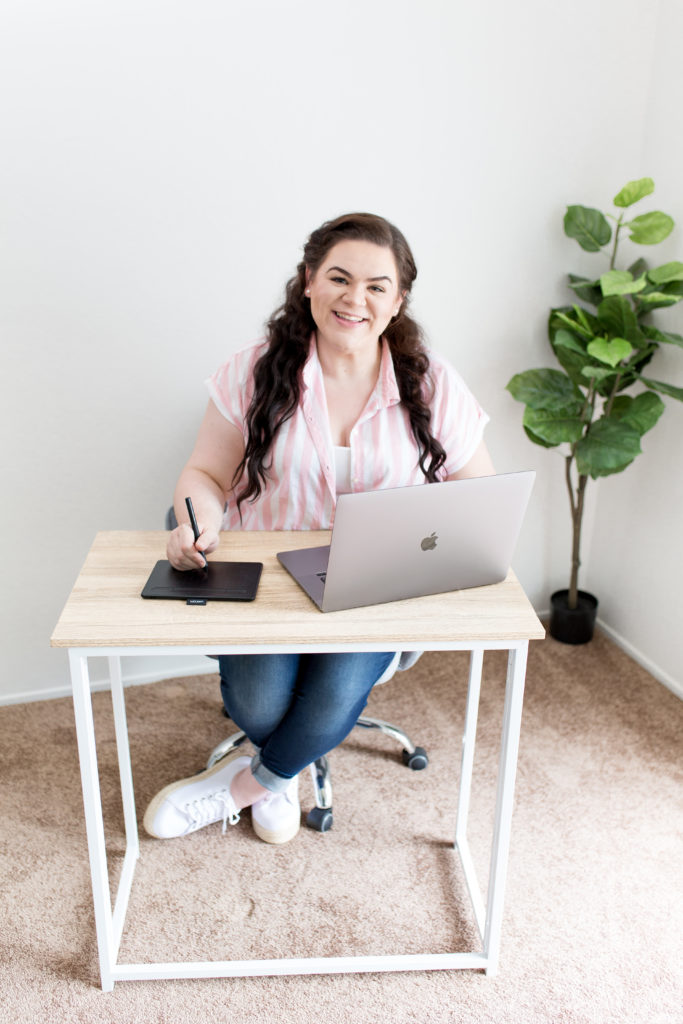
I have a small Wacom intuos pro and a small Wacom intuos. I got the pro first, but when I decided I was more productive if I edited outside of the house I got the small non-pro version and it works just as well.
The only tradeoff is on the pro I could use hand gestures ( kind of like you would do on an ipad) and I do miss that, because it basically replaced the need to ever use my laptop trackpad, but it wasn’t worth having something twice as big, especially on very small tables.
Buttons, Buttons, who’s got the buttons?
I’m going to be super honest about this one, I don’t ever use the buttons on the Wacom. Once I decided to learn them all and get them all programmed and since my hand was already on the keyboard for other shortcuts I never ended up using them. I am going to quickly go over what they do in case you find they would for you.
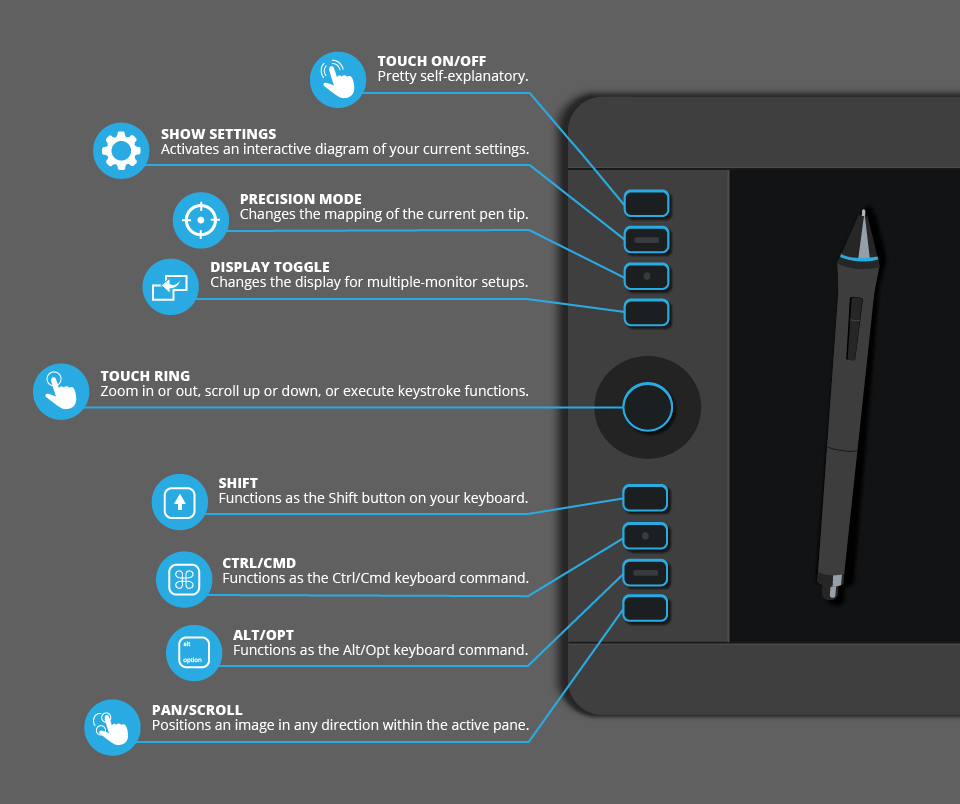
Small Intuos Buttons
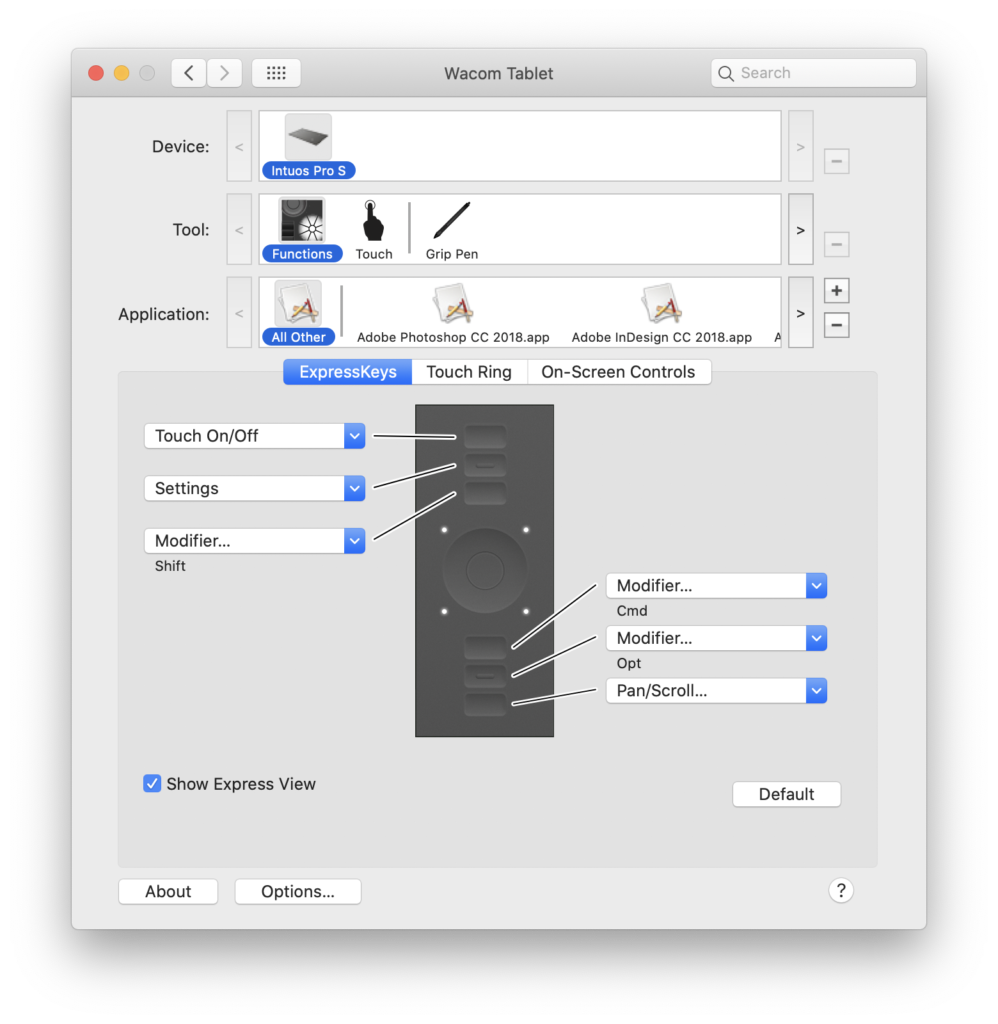
There are 2 customizable buttons on each size of the power button at the top of your tablet.
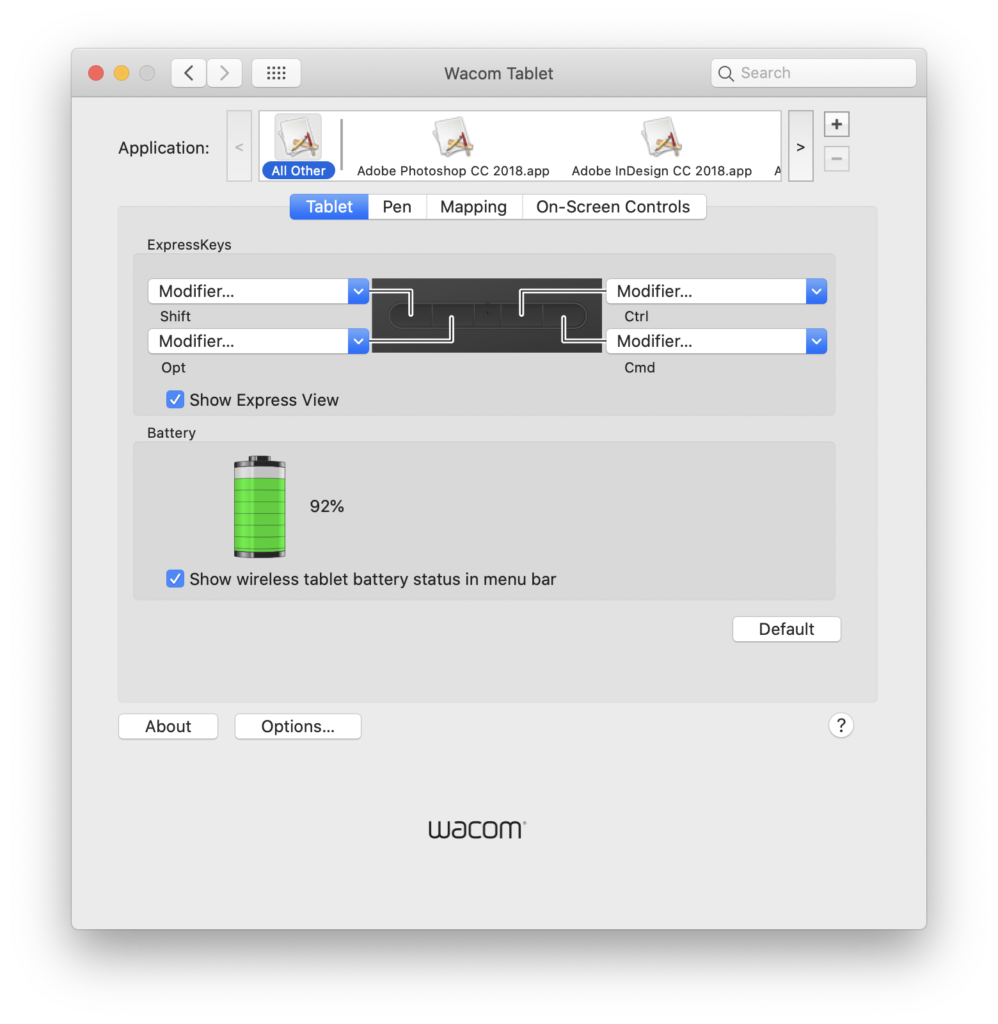
By default these come programmed to be “shift”, “opt”, ”ctrl”, and “cmd”.But you can customize them in the Wacom tablet setting to be any key or combination of keys you’d like, or a number of other shortcut options.
I’d recommend setting them to something you use all the time on the keyboard. For me that is the [ and ] keys to make a brush bigger and smaller.
On the Intuos pro the buttons are labeled in the photo below. Or you can also go into your settings are customize what works for you.
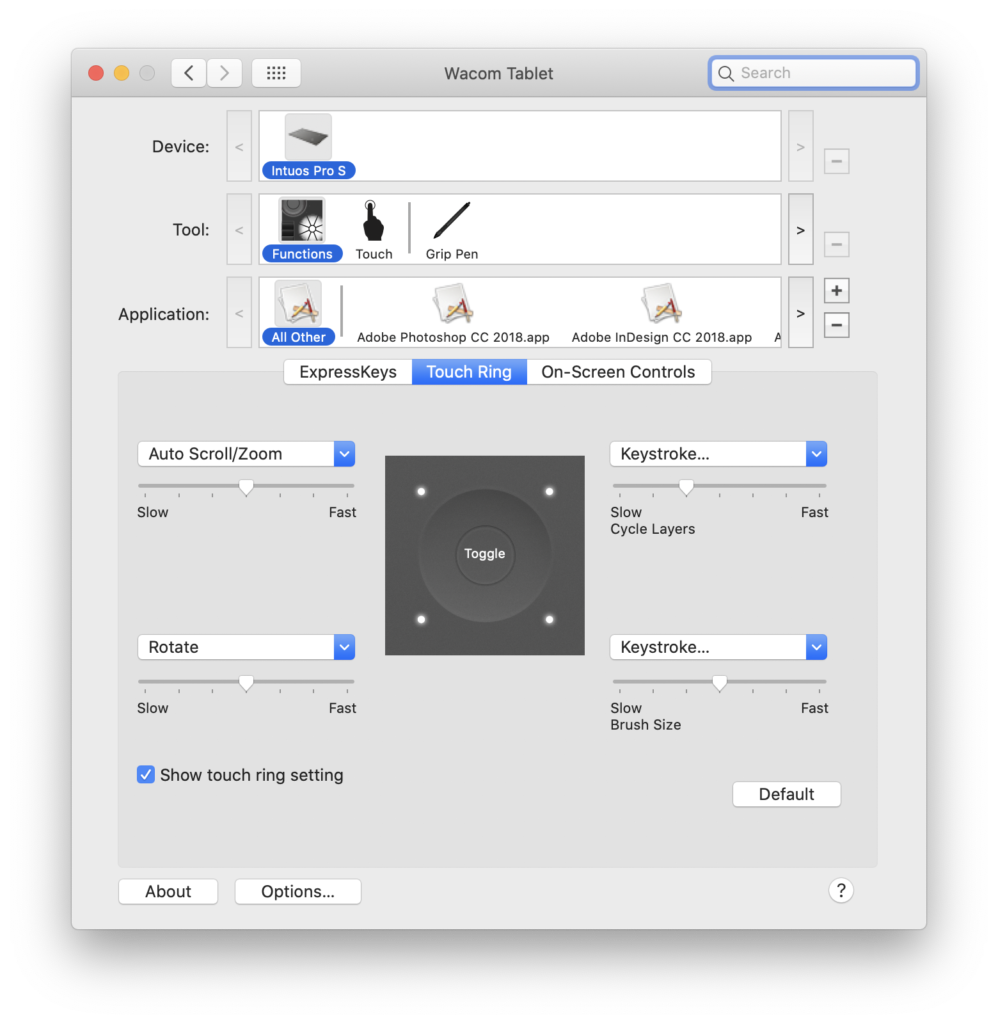
The Wheel:
On the Intuos pro touch ring can have 4 separate functions. To change those functions (toggle), you hit the center button and the light will move from cover to corner.
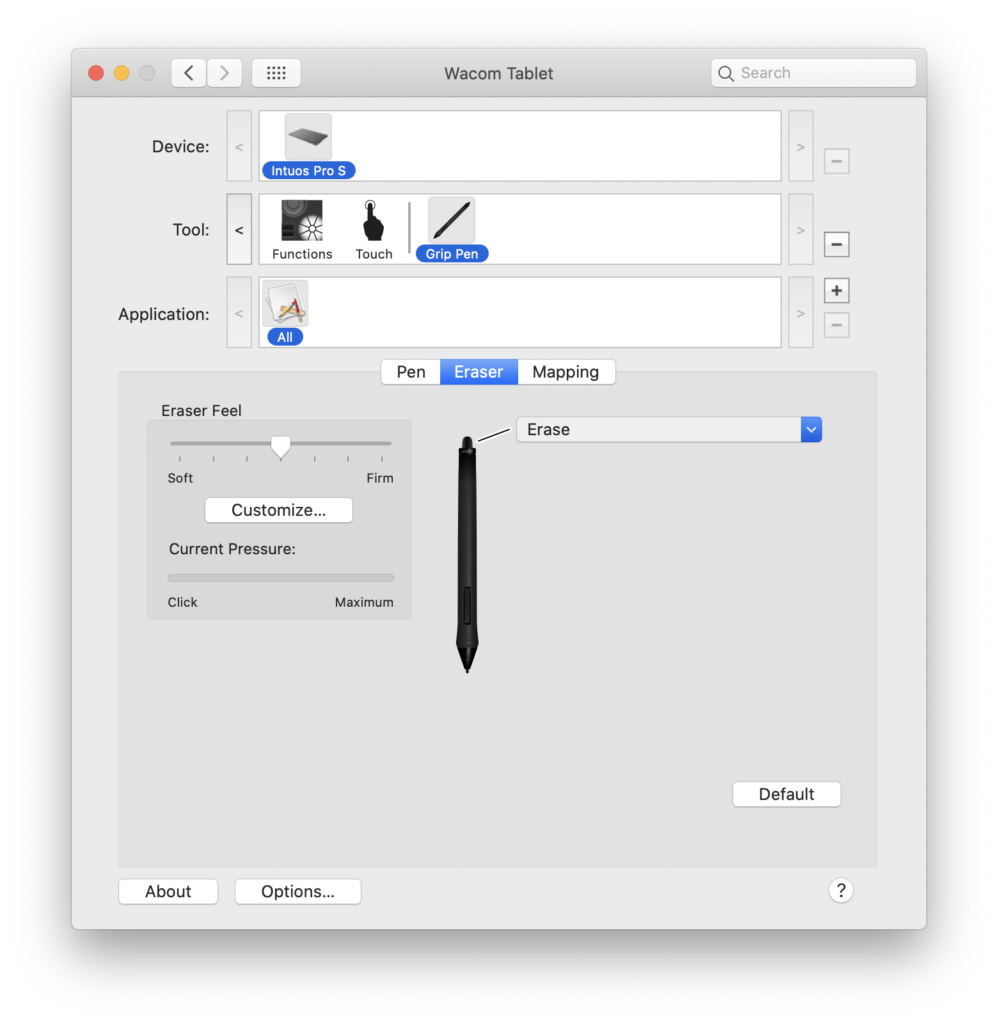
The Pen:
The pro pen has a couple cool features. Not only can you use the pen tip, but you can also use the other end as an eraser. And just like all the other buttons you can customize what that end does. It can be an eraser, click, or a keystroke.
Both pens come with 2 buttons, and you can set those buttons to do whatever you’d like. Since I use a Wacom table to mostly edit in photoshop and create masks I’m dealing with the brush and clone tool the most. I have the bottom button set to right click so it brings up the brush settings, and I have the top button set to the letter “x” which will toggle the black and white in photoshop for mask editing.
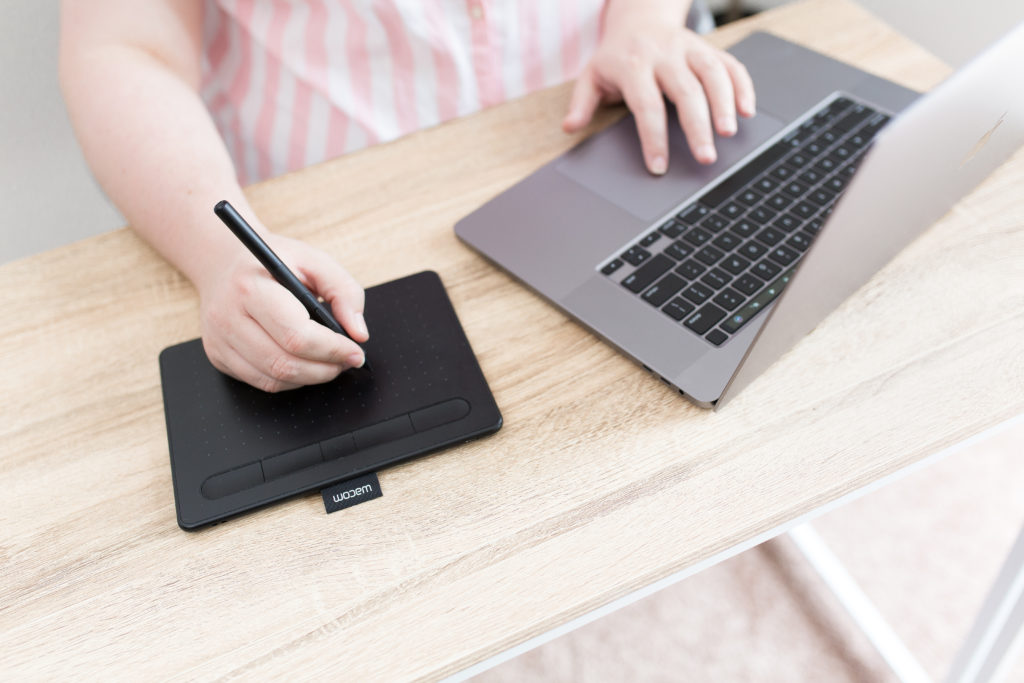
The Learning Curve:
I cant tell you how many times I’ve heard photographers say they bought a tablet and it sat in a box cause they didn’t like using it. And I’m going to admit something, I was that person too! So, you’re in good company! When I started I loved retouching, I still do, and my then boyfriend couldn’t believe I was using a mouse, so he bought me a Wacom tablet. It sat in the box for ages and then I finally took it out and got super overwhelmed.
What bothered me was I was used to a brush or the clone tool always being the same size and consistency and using the pen it would change size and consistency with pressure. It was super frustrating, and my brain couldn’t handle it so it went back in the box. A few months he pushed me again to give it a try. I also kept hearing my graphic design teacher in my head say “why would you draw with a bar of soap” when talking about using a mouse. I Knew this had to get better. So, I went thought the tools I used most, basically the clone tool and the paint brush and I turned off pressure sensitivity and bingo! I still usually have the pressure sensitivity off but now that I’m used to it I can use it when I need to.
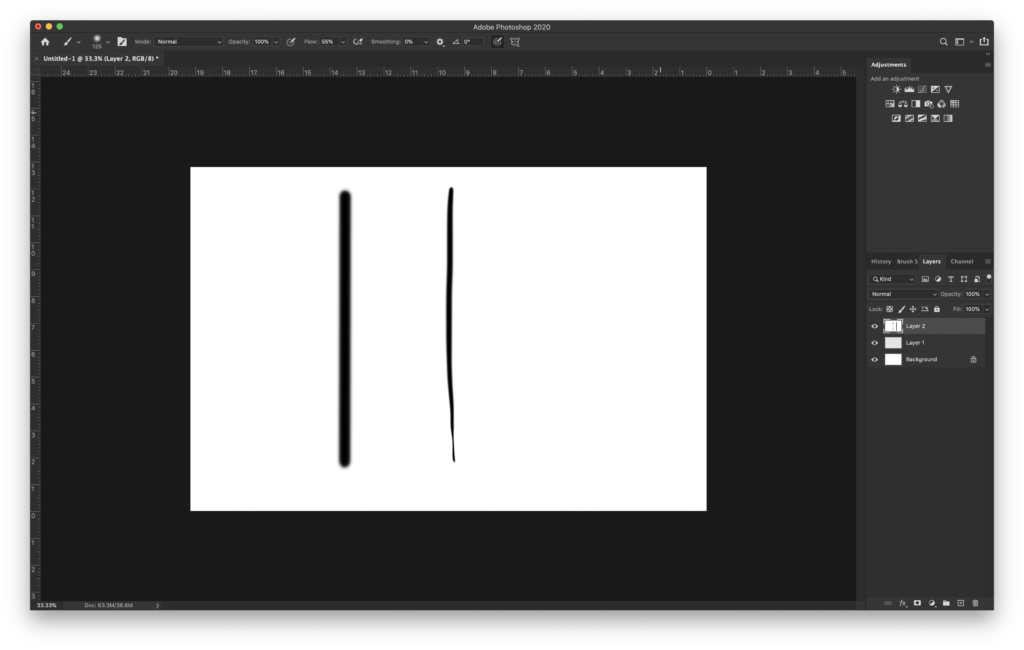
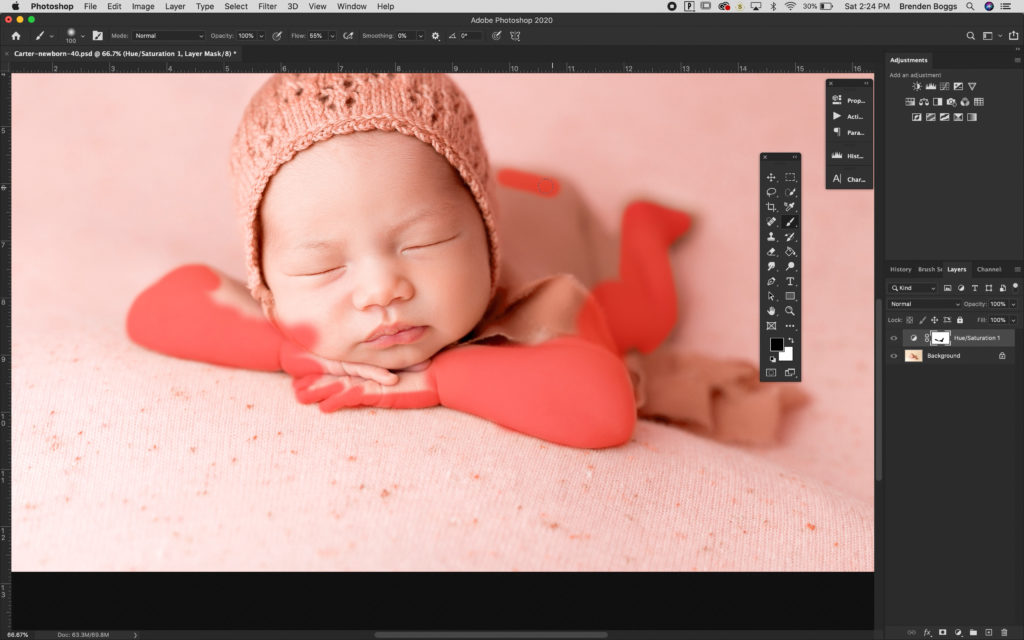
The pressure sensitivity control is at the top of the photoshop screen when you have a brush selected. It looks like a target and pen icon.
This shows the difference between a single stroke with pressure sensitivity off and on.
Brenda, this is more of a question from a newbie trying to get all info on graphic tablets for photo editing. I am no artist and not a professional. It is more of a hobby for my family pics and using a mouse is just difficult especially in lines of the images on my family pics. there’s a tablet that has a screen and one that does not. Using windows PC so the image stays on the pc and for screen tablets, will the photo be transferred to the screen. this is where my confusion lies and if you could point me to some docs or videos to find answers, would appreciate it very much. Thank you and stay safe


Brenda, this is more of a question from a newbie trying to get all info on graphic tablets for photo editing. I am no artist and not a professional. It is more of a hobby for my family pics and using a mouse is just difficult especially in lines of the images on my family pics. there’s a tablet that has a screen and one that does not. Using windows PC so the image stays on the pc and for screen tablets, will the photo be transferred to the screen. this is where my confusion lies and if you could point me to some docs or videos to find answers, would appreciate it very much. Thank you and stay safe