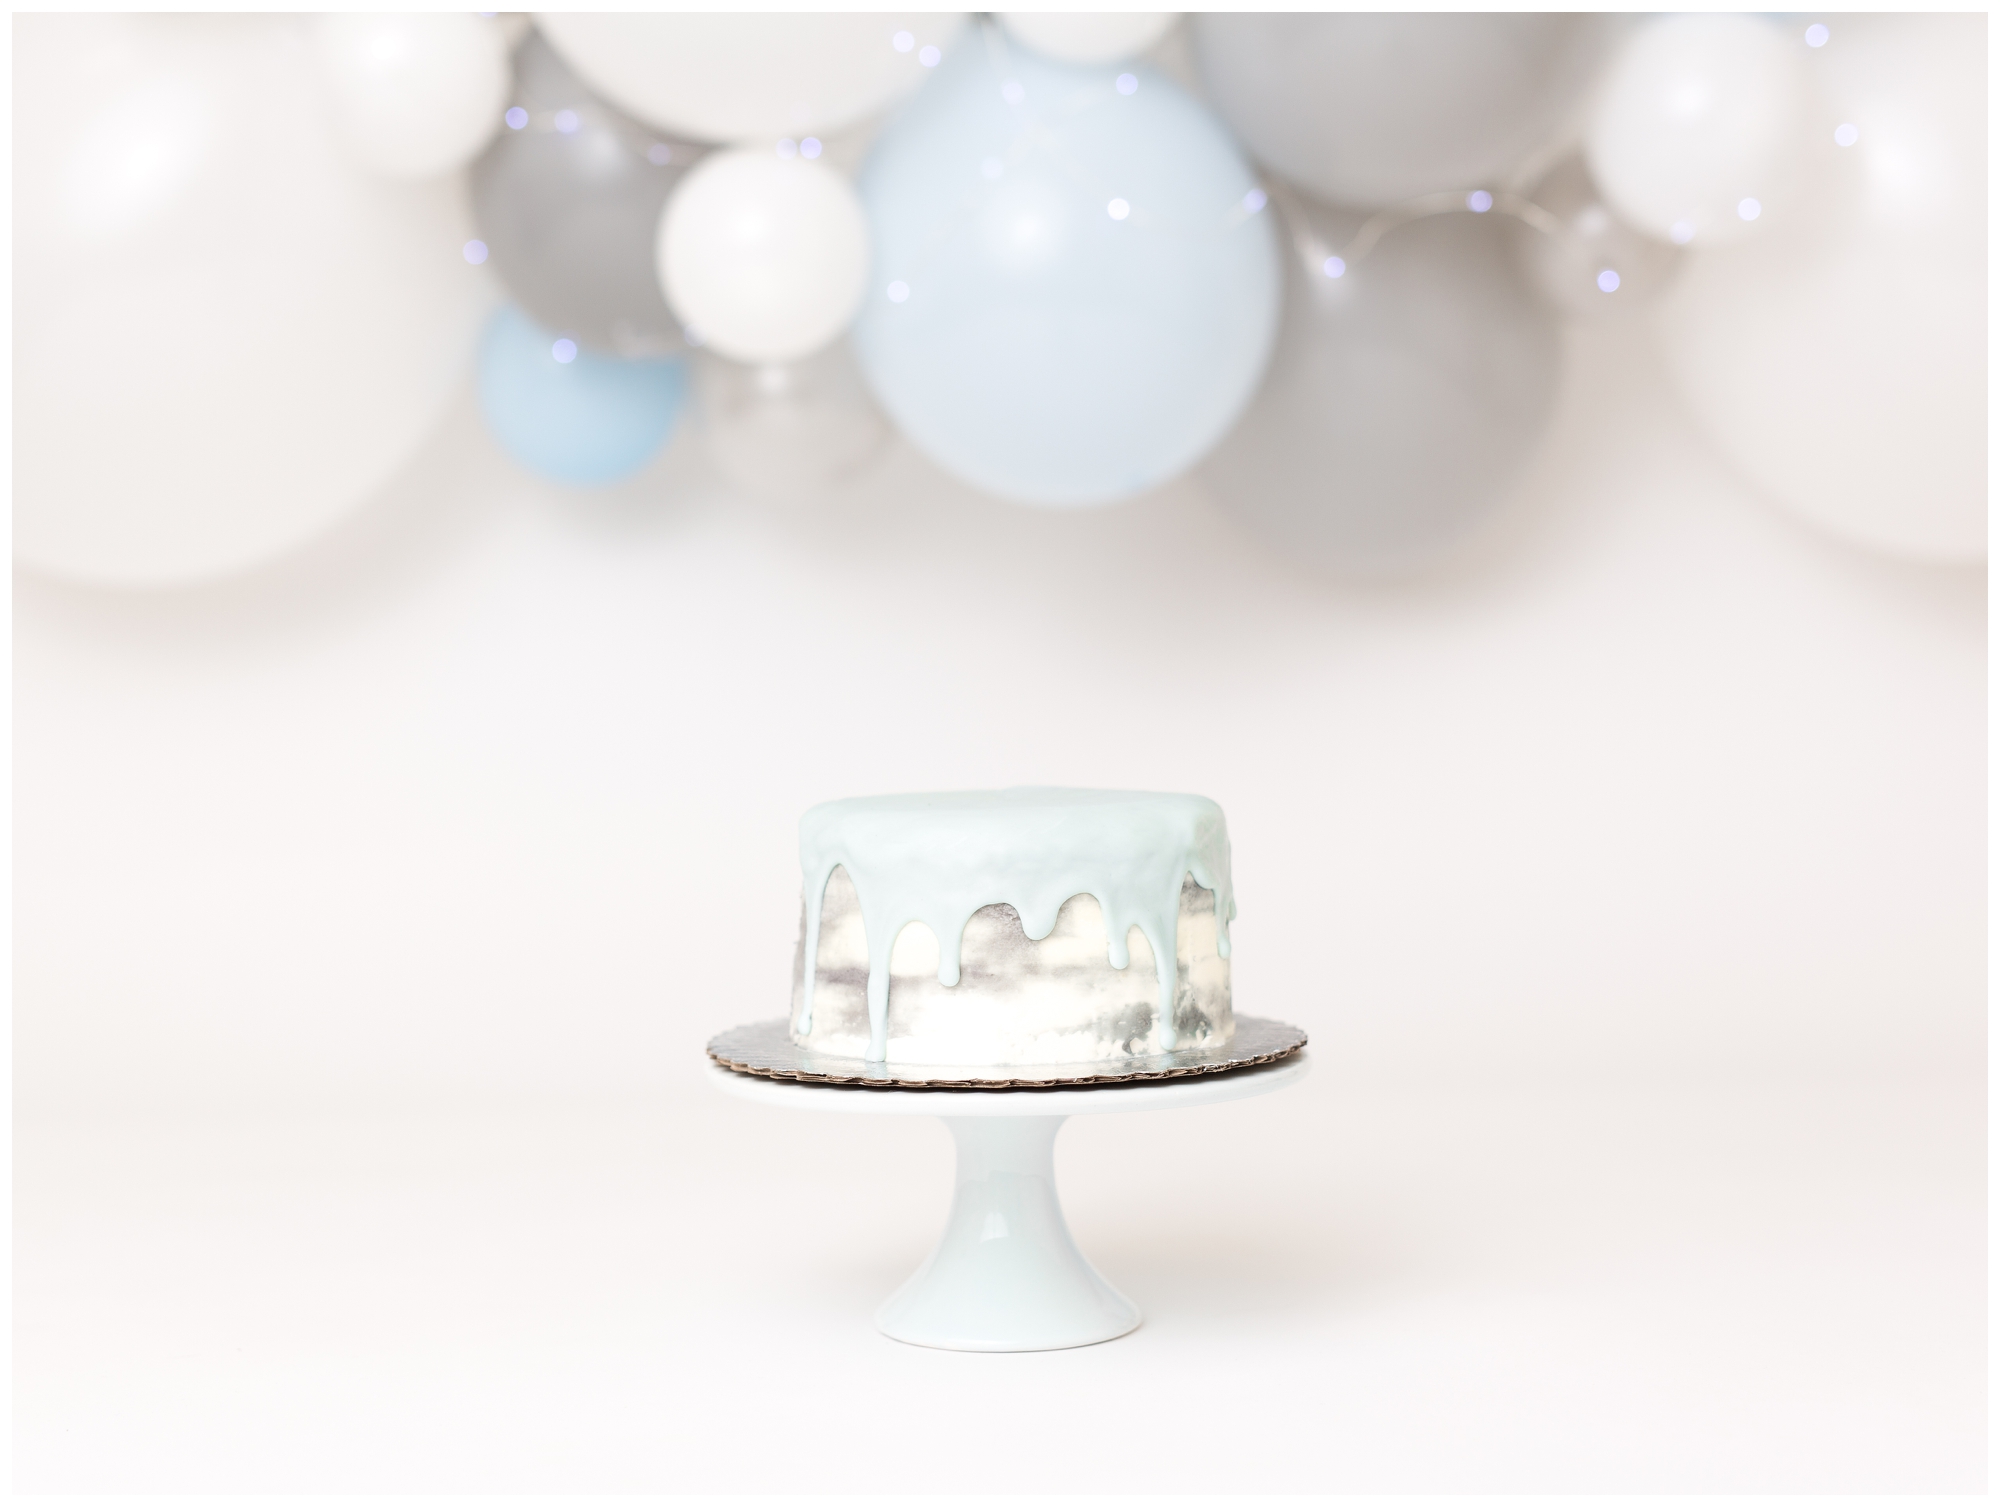
Balloon Garlands have been big hit over the last year, and I’ve always wanted to do one but I was afraid that it would either take an extremely long time, it wouldn’t work, or it would just be a giant pain in the butt! To my surprise I found a process that was fairly quick, worked great, and was super easy! I did my research, watched a couple YouTube videos, read some forums, and basically combined all the different processes together to make it as easy as possible.
Cake Vendor: https://www.blueacesbakeshoppe.com


 Any questions? I’m happy to share, leave me a comment below!
Exactly what I bought:
Any questions? I’m happy to share, leave me a comment below!
Exactly what I bought:
- Camera Gear & Settings:
- Canon EOS 5D Mark III
- Sigma 50mm F1.4 ART
- ISO 100, F/2.5, 1/160 SS
- Einstein Flash with white PLM
Step 1: Fishing Line
I used fishing line to string the balloons. It’s actually called Illusion bead cord, and I bought large eye needles ( lord knows I didn’t want to spend forever trying to thread this thing). I rolled out enough illusion cord that would go across the backdrop and a little extra. If you don’t roll out enough it’s no problem, just don’t cut it until your done and you can always roll out more.
Step 2: Layout the balloons
I wanted to plan out the color and sizes a little. I laid out the big balloons at the end and tried to mix the colors. I ended up using half the balloons I had originally planned out.
Step 3: Fill the balloons
I filled the balloons as I went. I started with the largest balloon and threaded the fishing line through the bottom tail of the balloon. For the rest I made groups of 3 or 4 balloons and then threaded them. When you fill the balloons vary how full they are to get variety of size. I added just a few small balloons to the groups, but most of the smalls I added at the end.
Step 4: Groups of Balloons
I would fill 2 balloons and tie them together. Once you had 2 groups of 2 you can twist them together by making a figure 8. If that sounds confusing watch the YouTube video here.Step 5: String up & Finishing Touches
Once your garland is hung ( I just clamped it to my backdrop stand), it’ time to add the small 5 inch balloons in any holes and areas that need a different color. I just used matte scotch tape to adhere them.
Step 6: Fairy Lights
I used 2 fairy light and it was definitely not enough, I ended up using 4 strings. They are battery operated and I just scotch tapes them to the backdrop behind the balloons ( they also weren’t very heavy). They come in 2 colors, a warm yellow and a cool white. I used the cool white. If you want the light really spread out stretch the light stings. If you want denser cluster of twinkle twist the lights into a coil/curl, the tighter the curl the more twinkles close together. What I learned for next time: Next time I might not use the large balloons at all, just regular and small. I loved how it turned out, but I think it would be ok with smaller balloons too. I also might try adding different elements to the garland like leaves, flowers ect. Also if I would have pulled baby and cake further away from the backdrop you wouldn’t see the fairy light cords as much, but I don’t have the space for that. If I tucked them a little more too they would have been less visible but I don’t really mind them like they are.How many Balloons:
- 16 regular sized balloons(12 inch)
- 2 large balloons (18 inch)
- 10 small balloons (5in)
Any questions? I’m happy to share, leave me a comment below!
Exactly what I bought:

I love balloon garlands for cake smash sessions and yours turned out so great! Such an awesome tutorial too – thank you for sharing!
That is such a smart idea! Love how it can tailored to to each individual client.
I have been thinking of trying one of these balloon garlands myself and appreciate all of the links to the supplies and tutorials. I think your garland turned out amazing and love how great it photographed! And can we talk about how cute your little ginger baby was?